Optimal Timing for Ceiling Spackle Repairs
Timing for spackle ceiling repairs depends on various factors including climate, indoor conditions, and project urgency. Typically, the optimal periods are during mild weather when humidity and temperature levels are stable, ensuring proper drying and adhesion of spackle. In regions with high humidity, it is advisable to schedule repairs during drier months to prevent moisture-related issues.
Perform repairs during seasons with moderate humidity and temperatures to ensure optimal drying and adhesion.
Choose times when indoor humidity is controlled, such as during spring or fall, to facilitate better results.
Schedule repairs when minimal disruptions are expected, avoiding peak holiday seasons or busy periods.
Refrain from repairing during extreme cold or heat, which can affect spackle performance.
Ideal for moderate temperatures and lower humidity levels.
Suitable due to cooler, drier conditions aiding in drying.
Maintaining controlled humidity indoors supports better repair outcomes.
Ways to make Spackle Ceiling Repairs work in tight or awkward layouts.
Popular materials for Spackle Ceiling Repairs and why they hold up over time.
Simple add-ons that improve Spackle Ceiling Repairs without blowing the budget.
| Season | Recommended Conditions |
|---|---|
| Spring | Moderate temperatures, lower humidity |
| Summer | High humidity, avoid peak heat |
| Fall | Cooler, drier conditions |
| Winter | Cold, dry indoor environments preferred |
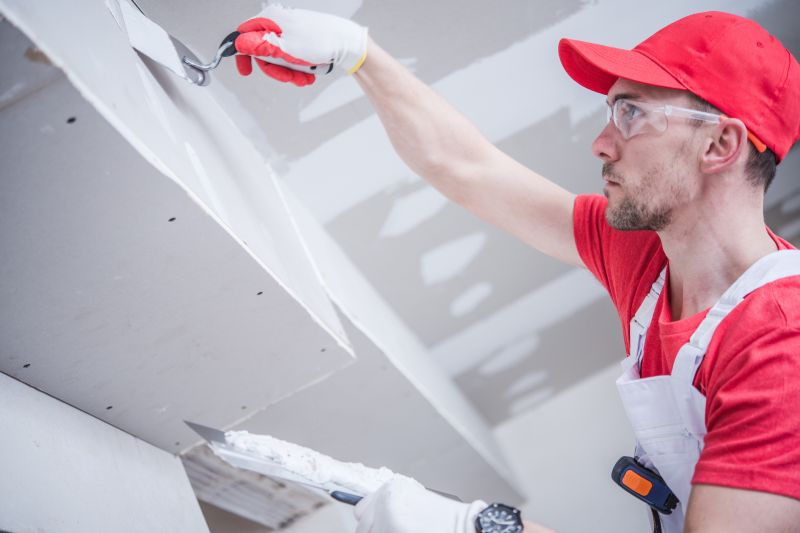
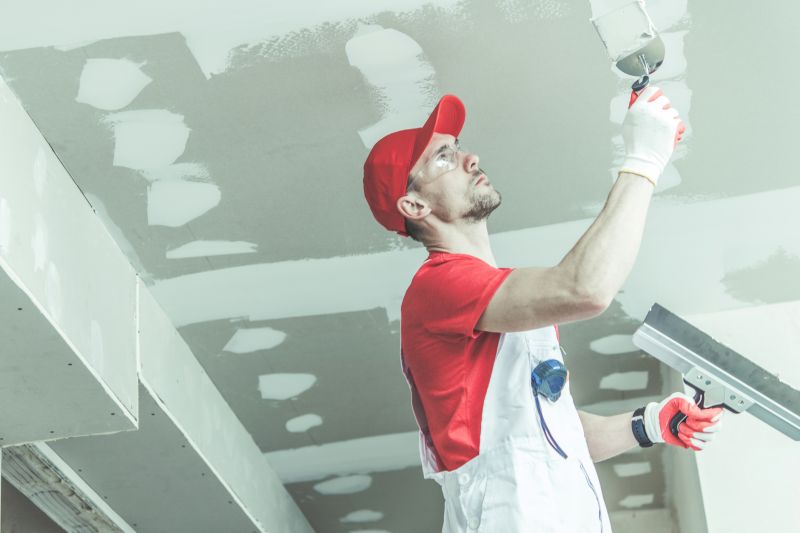
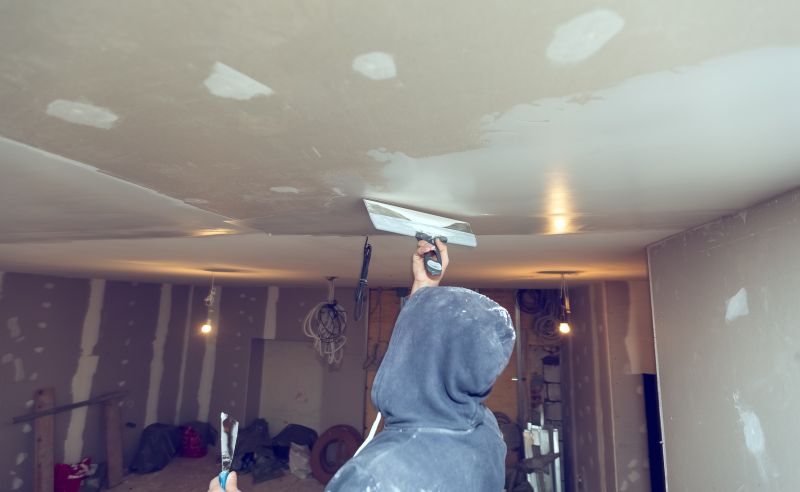
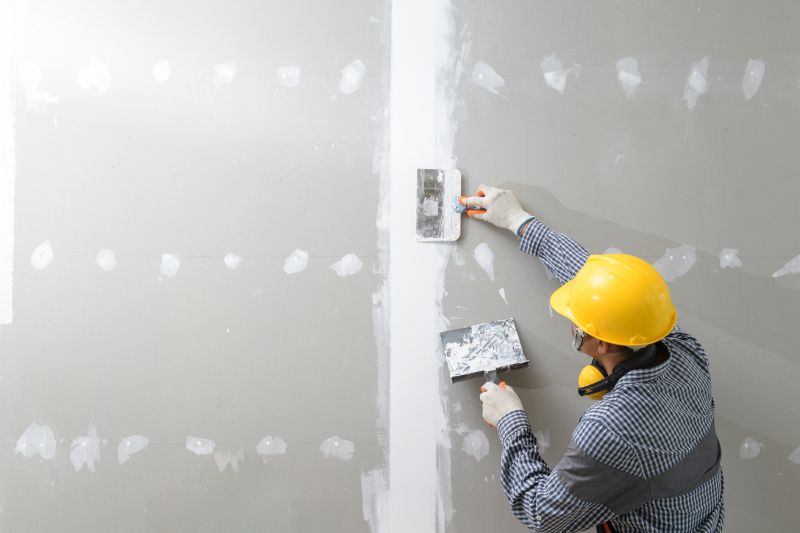
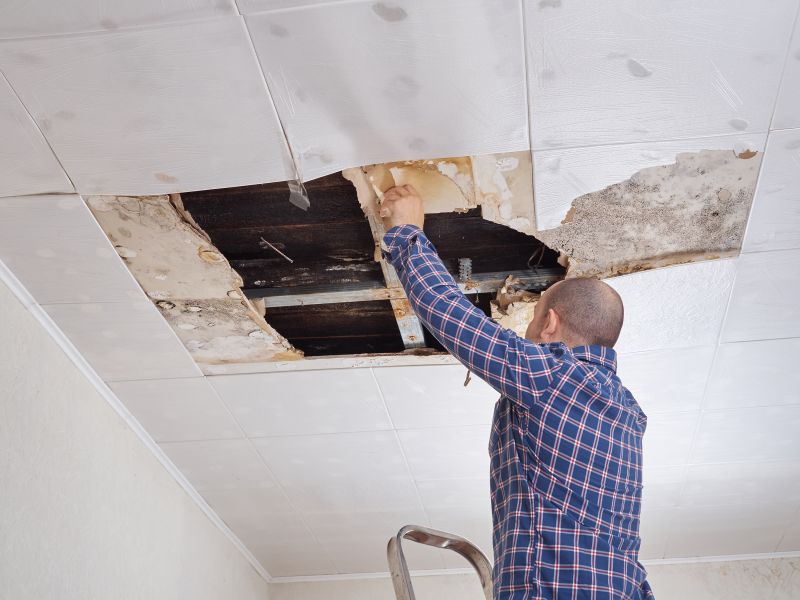
Spackle ceiling repairs involve applying a filler to cracks, holes, or imperfections on ceiling surfaces. Proper preparation and timing are crucial for a smooth finish and long-lasting results. The process includes cleaning the area, applying the spackle, and sanding once dry. This method is effective for restoring ceilings and preventing further damage caused by moisture or structural shifts.
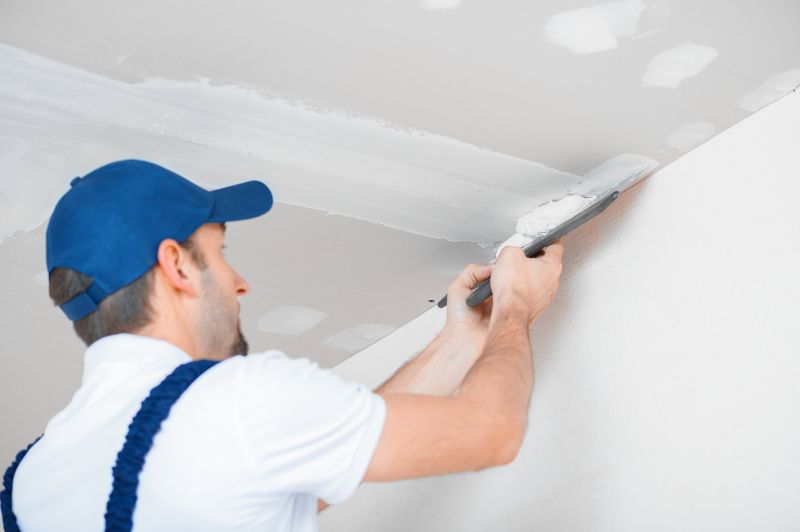
Proper application ensures a seamless surface for painting or finishing.
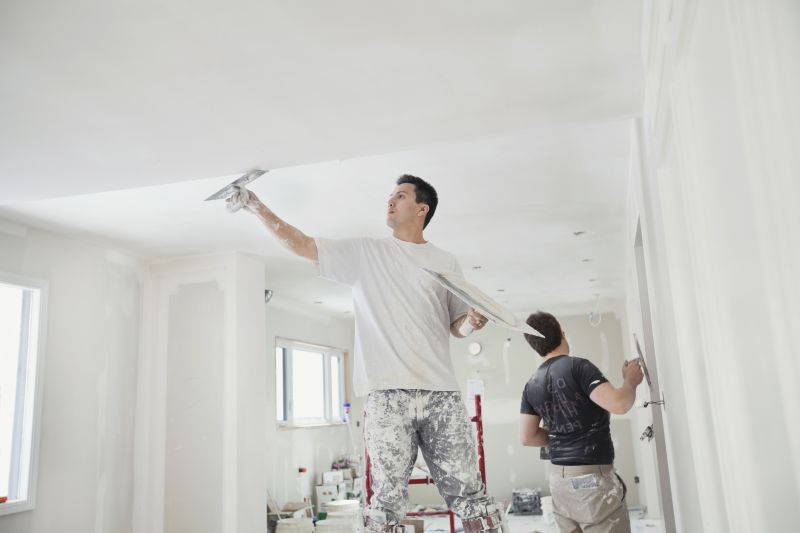
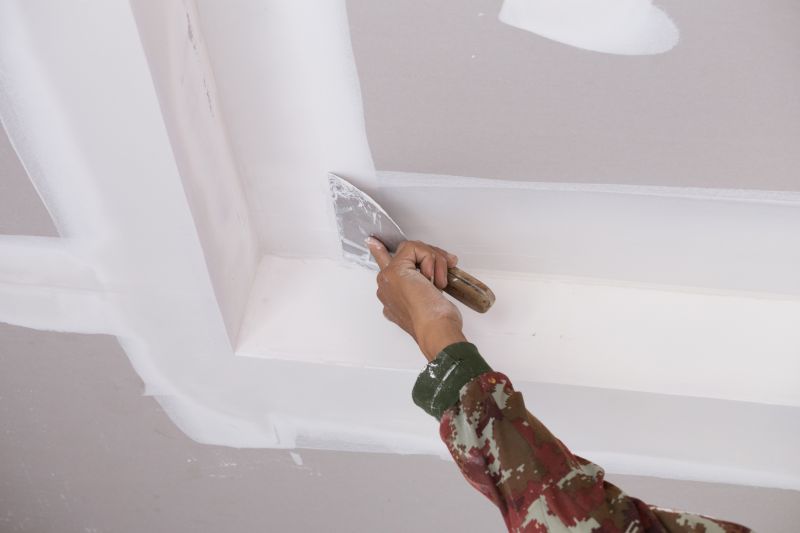
Smoothing the surface for a uniform appearance.
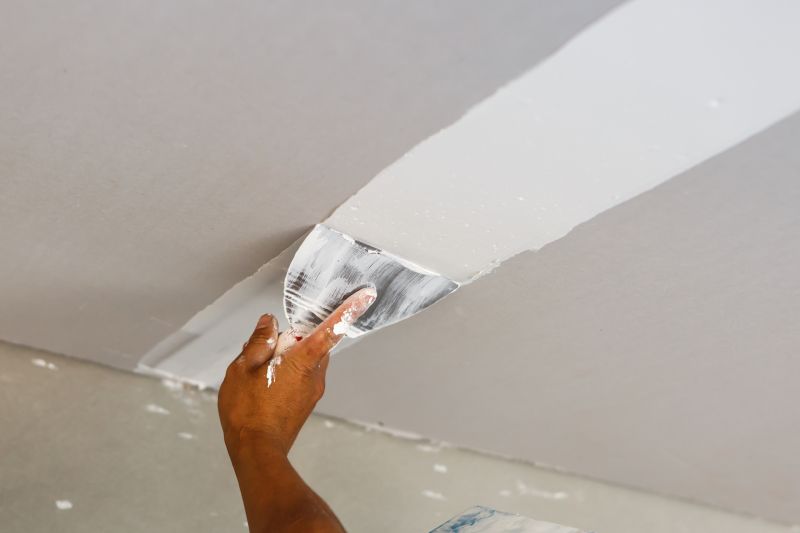
Allow adequate time for spackle to dry before finishing.
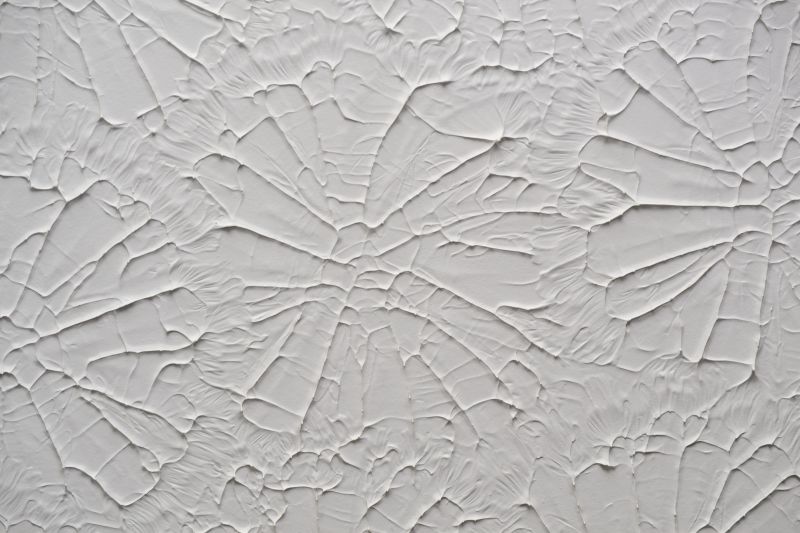
Restored surface ready for painting or final coating.
Choosing the right time for spackle ceiling repairs can enhance the durability and appearance of the finished surface. Monitoring weather patterns and indoor conditions helps in planning the project for optimal results. Proper timing reduces the risk of rework and ensures the ceiling remains in good condition for years to come.
Timely repairs prevent further damage and maintain ceiling integrity.
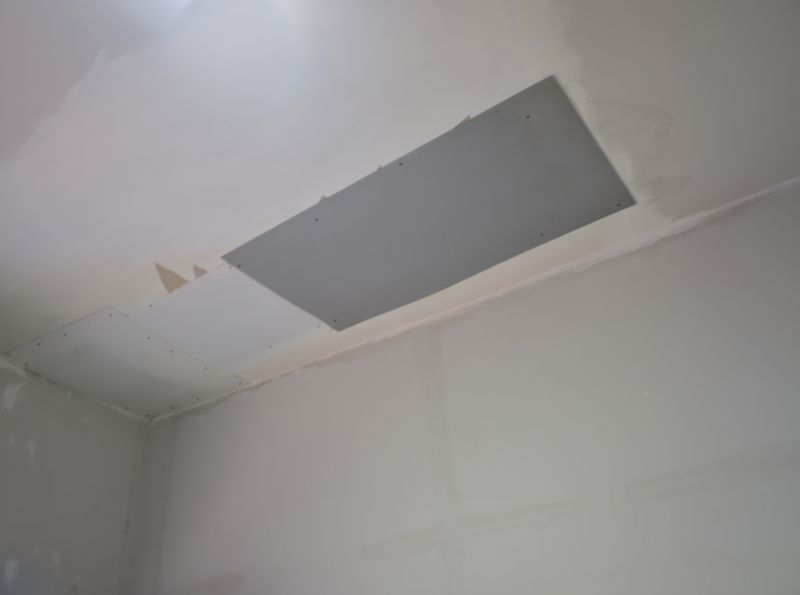
A smooth, durable surface after proper repair timing.
Interested in spackle ceiling repairs? Filling out the contact form provides an opportunity to discuss timing options and project details to achieve the best results for ceiling restoration.